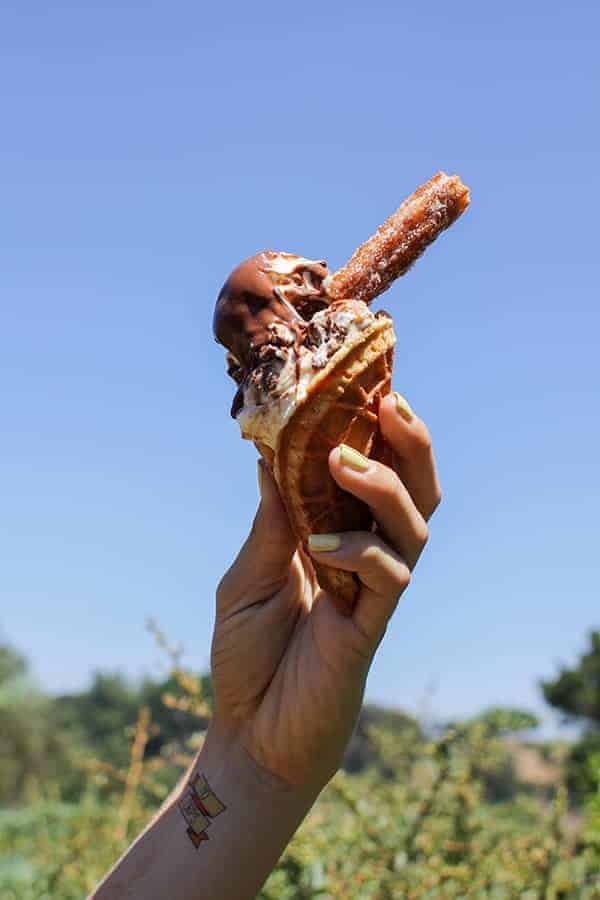
Homemade waffle cones are where it is at! We've been making versions of this mini waffle cones recipe for a few years now and they are always a huge hit.

photo taken by Salt & Wind
Last weekend I broke out my pizzelle maker and cooked up a couple batches of these pretty little cones for the ice cream social we hosted in LA with our gal pals Aida of Salt & Wind and Kate of ¡Hola Jalapenõ!.

While they are smaller than traditional waffle cones they're the perfect size for an ice cream social. One gigantic scoop of ice cream and a few toppings nestle perfectly into each perfect little cone.

If you’ve tried this Gluten Free Waffle Cones Recipe I would be so grateful if you would rate the recipe. Let me know what you think in the comments below. I just love hearing from you and your reviews and comments really help others that visit This Mess is Ours!
PrintGluten Free Waffle Cones
Don’t forget to rate the recipe and let me know what you think about this Gluten Free Waffle Cones Recipe in the comments below. I just love hearing from you and your reviews/comments really help other people that visit This Mess is Ours!
- Prep Time: 15 mins
- Cook Time: 12 mins
- Total Time: 27 mins
- Yield: approx 1 dozen 1x
Ingredients
- 2 tablespoons ghee
- 1 large egg
- 1 large egg white
- ¼ cup firmly packed light brown sugar
- 2 teaspoons vanilla extract
- ¾ cup Pamela's Nut Flour Blend or blanched almond flour
- 3 tablespoons tapioca flour
- ¼ teaspoon salt
For the chocolate version add 1 tablespoon black cocoa to the dry ingredients
Instructions
- Preheat a pizzelle maker with 4 ½-inch molds.
- If solid, melt the ghee in a small saucepan and allow it to cool slightly.
- In a medium-sized bowl, whisk together the whole egg, egg white, sugar,vanilla and melted ghee until smooth. Add the flours and salt (and cocoa powder if using) whisk until smooth again. Let the batter rest for about 5 minutes.
- Scoop 1 tablespoon of the batter onto the center of the pizzelle/waffle cone maker. Close the lid and cook for 30–60 seconds or until the cookie is done.
- Place the cookie on the countertop and immediately shape it with a cone roller or by hand. Hold the cone on the roller until it feels like it will hold its shape. It will set quickly as it cools. If it doesn’t crisp up once cooled, then you know it needs to cook longer. If your machine browns the cookie more on one side than the other, flip the cookie halfway through the cooking time for even browning.
- The cones are best eaten the day they are made, but can be stored in an airtight container for up to 24 hours before loosing their crispness.
Want to be a part of our online community outside of the blog? It’s easy!! All you have to do is follow @THISMESSISOURS on FACEBOOK, INSTAGRAM, TWITTER, YOUTUBE, or PINTEREST to see cooking demos and peeks into our day to day life.


Alex says
Do we have to use a waffle iron? I don't have one.
thismess says
I have never tried this recipe without a waffle iron..you could possibly create them by cooking the batter in a skillet like a thin crepe, but I haven't tried it that way. When I make these next time I will give a stove top version a try and will update the recipe if it works.
Julie Haake says
Do you have a recipe for waffle cones gluten free without using tree nut flour?
thismess says
Unfortunately, I haven't tested them without nut flour yet - I have that on my to-do list for this summer though!