When we moved into our 60+ year old house last year, we realized it was the first time we'd had a wood-burning fireplace in more than 10 years. Turns out we were a little rusty at starting really great fires. Having accepted our shortcomings, we took on the challenge and the research began: how to start a fire.

It seemed simple enough, but we didn't want to build just any fire. We wanted to know how to start the perfect fire. Is it possible to build a fire that would burn for hours, without constant poking and prodding? A fire so glorious, it would put all of our past fires to shame? The answer is yes, and we're about to let you in on the secret: the Upside-Down fire.
*Editors Note: As a bonus, everything below applies to just about any type of fire. If you are looking to learn how to build a campfire - you're in the right place!
First, the basics.
Safety First.
Before you learn how to start a fire, let's make sure things are safe. If you haven't used your fireplace in a year - or if you're in a new home and are using your fireplace for the first time, do a quick inspection. Make sure you don't see any cracks or crumbling of the masonry walls.
If you do see issues it's a good idea to take care of it as soon as possible. If you want to do the fix yourself, it's not terribly difficult, but does require the use of power tools to cut the masonry material to size. You can also google your local chimney sweep who will often be able to do the work for you.
Clean Up.
Make sure your fireplace is clear of large amounts of ash. We use this pan and bucket set to clean up after every few fires. It's good to have a little ash lining the bottom of your fireplace (about an inch) as it helps to insulate the space, keeping the fire hotter, longer. You can read more about that here.
Once you've collected a bucket full, you might like to know there are quite a few things it's good for, but we like to use it in the garden. It's great for keeping bugs away, and also provides some nutrients to the soil.
Open the flue.
If you reach up into your fireplace cavity you should find a metal handle. Pull hard as it should have an airtight seal when closed which could make it difficult to pull open - especially if it's been shut for a while. This will allow smoke to escape once your soon-to-be epic fire is underway.
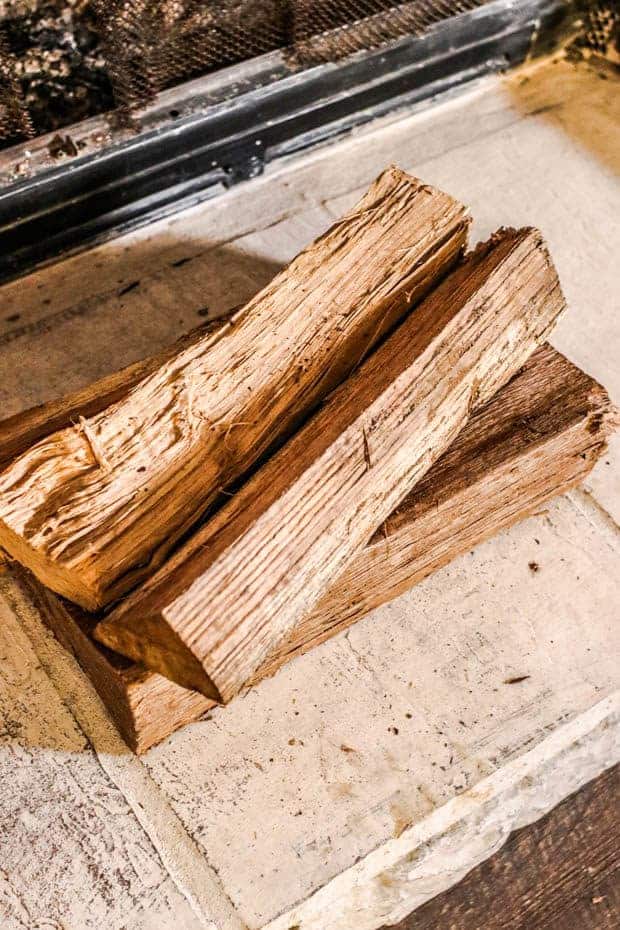
Choose your wood.
Obviously this is the most critical piece to the puzzle. If you want to know how to start a fire, you'll need to begin with some nice split wood. If you're in a rural area you'll probably find some roadside stand opportunities - but the big box home improvement retailers carry it as well - heck, even Amazon has some options.
Gather Kindling.

We live in a wooded area with lots of free kindling scattered about. We like to send the kids out on hunt and gather missions, looking for large pieces of bark and dried branches anywhere from a ¼" to 2" in diameter. We'll break them down to match the length of our firewood and store in a firewood rack until needed.
This can actually look really beautiful in your home, especially if you have a cool stand like this. We purchased ours on Etsy and really love it.
If you don't have access to nature's free kindling, you can opt to go without, or purchase some online or at your local home improvement store. In our opinion, you definitely get a better fire when you use the right kindling.
Tinder Time.
If you're like us, you get lots of brown Kraft paper in the mail that has been used to cushion whatever magic is packed inside that delivery box. We fold it up and stash it away all year because it makes a perfect fire starter. But really, almost any paper will do - just stay away from colorful papers that may have some chemical dyes you wouldn't want released into the air. If you prefer to get straight to the point, you might try some of these fire starter briquettes instead of, or in addition to the paper.
The Upside-Down Fire
We like to build our fires upside down, meaning lightest (on top) to heaviest (on bottom) - think of a pyramid - as opposed to the more traditional method of stuffing paper under the logs and letting the fire burn towards the top.
Get rid of the Smoke
Although it might seem counter-intuitive to put the kindling on the top, the reality is that this is where most of the smoke comes from. So placing the kindling right below the flue means that most of that smoke goes right up and out of your house.
By placing tightly nestled layers of burn material in ascending order, you'll get a fire that heats nice and slow, allowing the logs beneath to catch just as they would if the kindling was beneath them. As each layer of ash burns down, it ignites the layer beneath. You'll have less fuss-time with the fire and it will keep burning (on it's own) for hours. Trust us, it works!
Now for the fun part! How to start a fire in 3 steps.
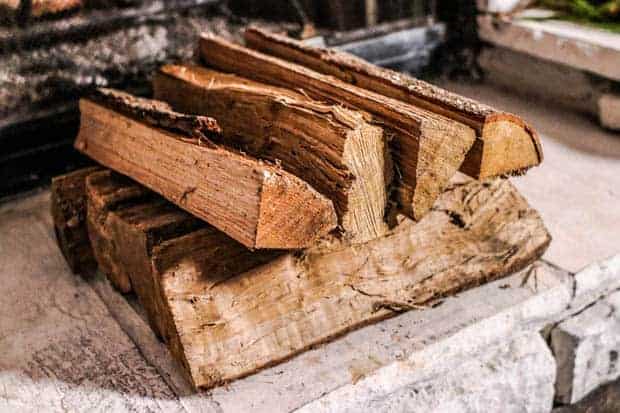
Step 1: Stacking Wood.
We have a pretty small fireplace so we don't build big fires - if the heat gets too intense it can damage the masonry walls. If you have a bigger fireplace, you might want to layer your logs a little higher.
Due to the narrow depth of our fireplace, we can't cross stack as we'd like to do. So, we sort of skew the top layer rather than stack it in a completely perpendicular way. This isn't ideal, but it works.
No matter what you do, the idea is to start with the largest pieces of wood at the bottom, creating a cradle for the next (smaller) layer until you've built your pyramid. The most important part is placing the logs as tightly together as possible, leaving no room for ashes to fall all the way through your stack to the floor. If you've built it correctly, each layer will burn completely, forming a layer of hot ash on the layer beneath it.
Tips for Larger fireplaces
If you have a large fireplace, you might want to include another layer or two of logs, turning them perpendicular to the first layer - but still keeping them as tight as possible.
*Pro Tip: Make sure your wood is completely dry, and ideally at room temperature. This will ensure maximum moisture has been removed and the wood will ignite more easily.
Step 2: Add Kindling

After the first layer of large logs, we usually move on to large kindling. Grab some of those bigger branches, or if you've purchased pre-cut kindling, add a healthy layer on top of the logs. If you're using branches, you can place some of the smaller diameter pieces, or easy-to-burn dried bark on top.
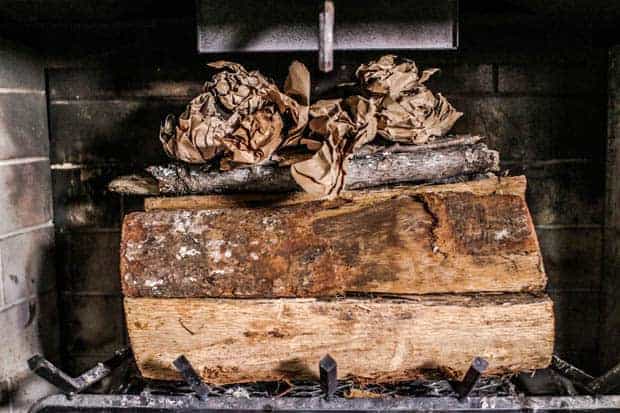
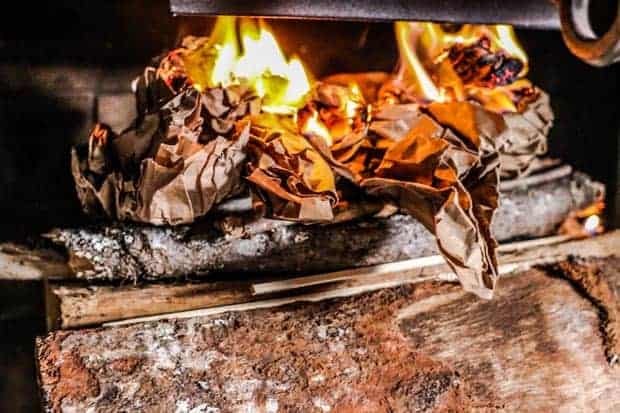
Step 3: Twist your Tinder
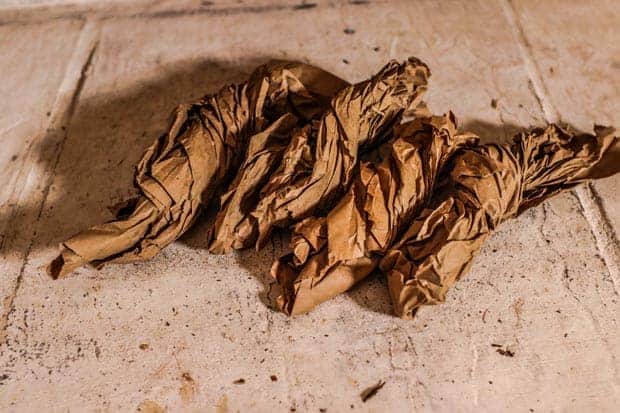
The time has come to put all of that packing material to good use. Twist your paper into log-sized rolls, or crumple into balls and place on top of your kindling. We prefer the twist-method as the paper seems to stay in place better - you don't want it to roll off the top of your pyramid.
Once you've got your layer of tinder in place (you can also use fire starter briquettes if you prefer) - let the fire begin! We find these long matches best to be able to start the flame in a few different places along the top for a more even burn.
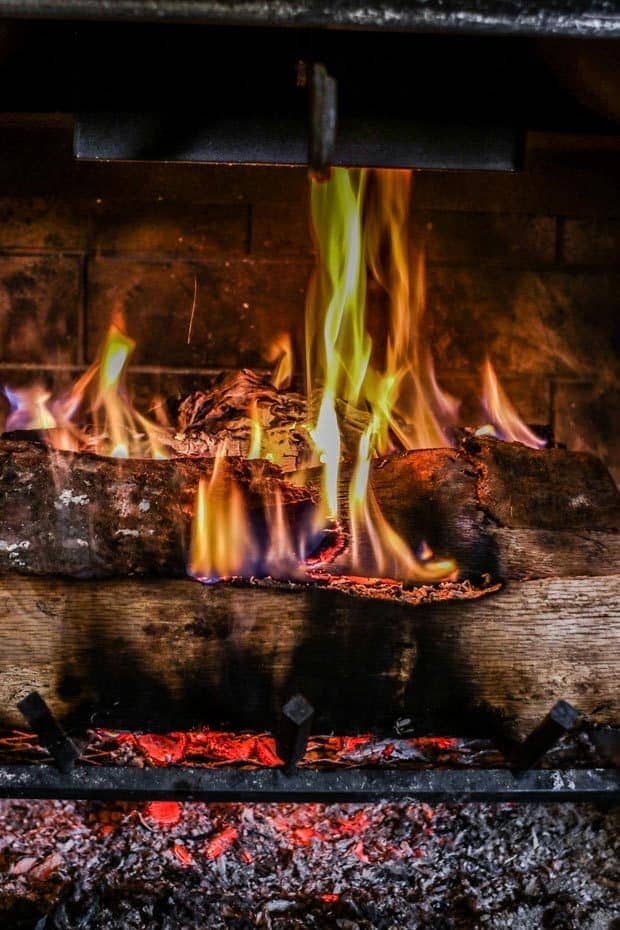
That's it! You're done.
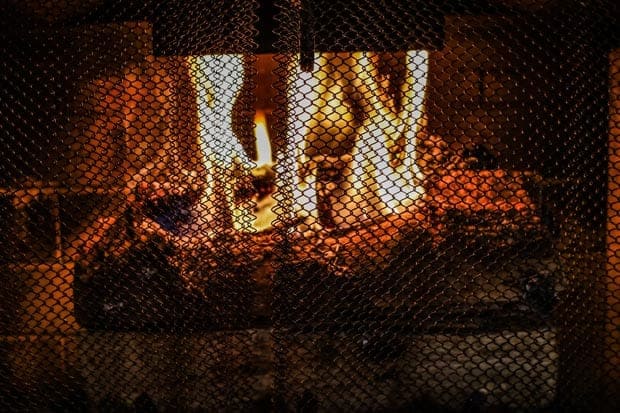
Seriously, leave it alone. Although it might be tempting to poke and prod at the fire while it gets off to a slow start, you're best to just let it do it's thing. Within 15-20 minutes you should have burned through the tinder and kindling, and all of the hot ash is now sitting on top of your log block and beginning to burn. Depending on how tall your log layer is, you'll have hours of beautiful fire to warm yourself with.
Treat Yourself
Now that you've learned how to start a fire, you obviously deserve a reward. If you're looking for a delicious hot cocoa recipe to go along with that fire, treat yourself to this Sweet and Spicy Mexican Hot Chocolate! Or maybe try one of our all-time favorite Holiday Cookies!
The Best Chocolate Peanut Butter Oatmeal No-Bake Cookie

Gluten Free Italian Polenta Cookies

Ginger Coconut Macaroons

Gluten Free Pignoli Cookies

How To Make Gluten Free Salt Dough Ornaments
Cranberry White Chocolate Oatmeal Cookies


Mara Fidler says
I bought an old house in the downtown area. I have done all of my interior works by my choice. I have been thinking about my fire station renovation. Adding kindling was the best part of your blog & I want to get rid of the smoke of fire station . Thanks for your great ideas.